🧵 What Tools and Materials Do You Need to Start Leathercraft?
Here's what you need to get started:
So you’re curious about leathercraft. Maybe you dream of making your own wallet, notebook cover, or even a bag — and I highly encourage you to do so, as leathercraft is the most rewarding hobby I’ve ever had.
But the moment you look it up online… boom: endless lists of expensive tools, obscure items, and conflicting advice. Let me simplify it for you.
Here’s what you actually need to get started — nothing more, nothing less.
✂️ 1. The Basics: Tools You Can’t Skip
These are the essential tools. With just these, you can already start making beautiful small goods.
🪒 1. Utility Knife or Craft Knife
Forget fancy leather knives for now. A sharp utility knife (like an Olfa or Stanley) works perfectly for beginners.
📏 2. Steel Ruler
For clean, straight cuts — ideally one with a non-slip backing.
💥 3. Cutting Mat
Protects your table and your blades. Get an A3 or larger if possible.
🧷 4. Pricking Irons (or Stitching Chisels)
These are used to mark evenly spaced holes for hand-stitching.
For fine pieces in the style of designer brands, start with a 3.85mm or 4mm size — it’s versatile. I use a french style but you can also get diamond.
For less refined pieces, you could also use one of the round ones that cut small holes and a bigger size than the one above.
I recommend getting a set of three chisels with different amount of teeth so you can adapt to different shapes and edges. I tell you below which I got.
🪡 5. Harness Needles (x4)
Blunt-tip needles for saddle stitching. You'll always use two at a time.
I recommend getting four in case you bent one, or you wanted to use it for other purposes.
🧵 6. Waxed Thread
Polyester or linen, waxed for easier stitching. Tiger Thread is a great beginner option.
🪵 7. Stitching Pony (Optional but Helpful)
It holds your leather while you stitch, keeping your hands free. You can DIY one or buy a simple version.
Instead of the stitching pony I sometimes use some small clamping pliers from my local working tools store. They’re cheap and handy for weird angles.
🔨 8. Hammer for the pricking irons
You need a nylon hammer, not a metal one. It’s easier to work with it and makes less noise.
Other optional tools:
Sanding paper of a high number (above 100).
Leather edge beveler
Leather edge barnisher — it’s a cheap wooden tool
Leather paint of a colour you can use on different colour leathers so you don’t have to buy many different ones — I recommend black or light brown.
The brand Angelus is a good start.
You can use a stitching needle to paint the edges, no need to buy a brush for that.
🧴 2. The Leather
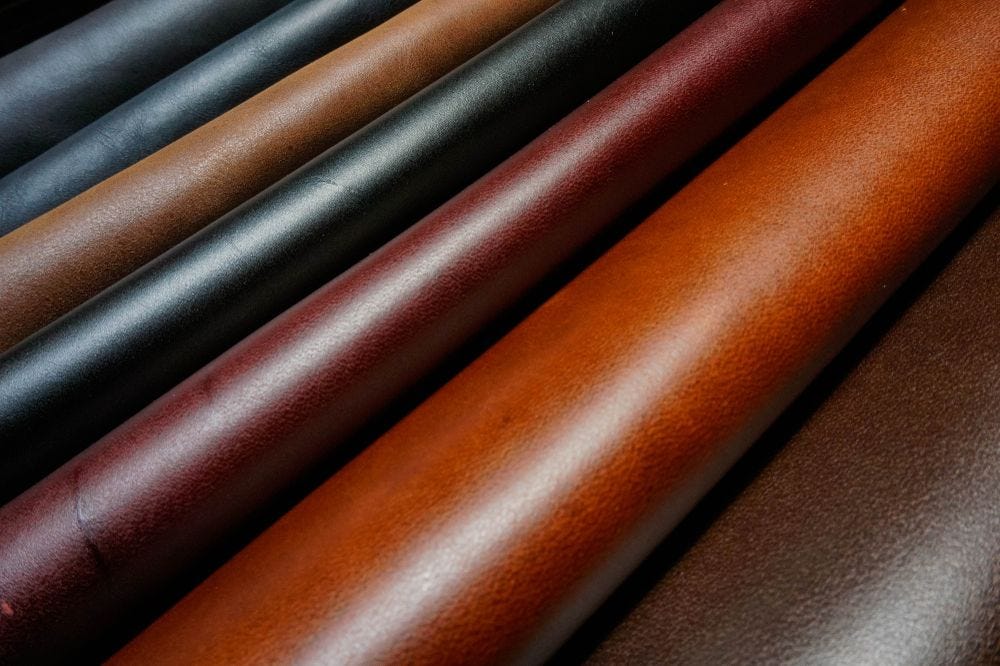
Start with vegetable-tanned leather — it’s natural, easy to cut, takes dye well, and develops a beautiful patina over time.
You can also start with non vegetable-tanned leather but I would recommend it to be of good quality (it’s more expensive, but your pieces will look better). I feel a big difference in the ease to work with it when I work with good quality leather.
Weight: 1.5–2.5 mm is ideal for wallets, card holders, small bags, etc…
Buy small panels or offcuts to practice — no need to buy a whole hide.
📦 3. Where to Get Your Supplies
You don’t need a big budget or a full workshop.
Look for:
There are online stores dedicated to these supplies in the US, like Made on Jupiter or Artisan Leather Supply. I think they have all you need in these two.
Other options:
Starter kits on sites like Tandy Leather, LePro Leather, or local craft stores.
Online marketplaces like Etsy or small artisan shops for leather offcuts.
Sometimes even old leather jackets or bags can be repurposed.
Where I got my supplies:
Hammer, edge tools, cutting mat, knife, paint, ruler and needles: Amazon
Pricking iron: Etsy, Kemovan brand. Costed me around 50 euros. I got a set of 3 chisels with different amount of teeth.
Leather: I buy it online from Italy.
I started with needles and pricking iron from Amazon as well, but then upgraded to more pro ones. I think the Amazon needles were okay so I said above you could get them there. But try get sturdy ones. The pricking iron from Amazon was terrible, so I felt the need to upgrade and the quality of my items improved as I changed them.
🧠 4. Start Simple. Learn by Doing.
Don’t get stuck in “tool paralysis.”
Pick a small project — a card holder is perfect — and just begin.
The truth is: your first piece won’t be perfect. That’s not the point. The point is to fall in love with the process — the smell of leather, the quiet rhythm of stitching, the satisfaction of making something real with your hands.
👋 Coming Soon: What is vegetable tanned leather?
In a future email, I’ll show you exactly what I use in my atelier here in Zürich — Stay tuned.
And if you're curious about a specific tool, reply to this email — I read every message.
—
Until next time,
Miguel
Founder & Artisan, Argi Zaharra Atelier


